Understanding Digital Smile Design
Digital Smile Design (DSD) is a planning method that uses photos, videos, and scans to design a smile that fits your face before any dental work begins. It shows tooth shapes and positions on screen first, then turns that plan into a 3D mock-up you can try in your mouth. In short, you preview the result and “test‑drive” it, so decisions feel clearer and more confident.
We follow a smile design digital workflow that starts with accurate records and a facially guided plan. High‑quality photos, short videos (to see your smile in motion), and intraoral scans give us a precise map of your teeth and lips. We align the digital design to your facial midline, smile curve, and speech. From there, we can discuss options like minor bonding, clear aligners, or restorations such as porcelain veneers for shape and color, all based on what the mock‑up shows.
- Capture records: photos, video, and intraoral scans (and X‑rays only if needed).
- Do facial analysis and a 2D smile sketch over your images.
- Convert to a 3D design that matches your bite and facial references.
- Print or mill a mock‑up guide to transfer the design to your teeth.
- Test‑drive: place a temporary mock‑up so you can see and feel it.
- Refine together: adjust length, width, or contours before final care.
DSD improves communication among you, the dentist, and the lab by making goals visible and measurable. It can help keep treatment conservative by showing when small changes are enough and when more is needed. If tooth movement is part of the plan, we may coordinate the design with clear aligner treatment so the final shapes and positions work together. Remember, DSD is a planning tool—it does not replace a full exam, gum and bite evaluation, or a discussion of risks and timelines. It simply brings your vision, facial features, and clinical limits into focus before any definitive treatment begins.
The Importance of Photos in Planning
Photos are the foundation of smile planning because they show how your teeth relate to your face, lips, and expressions. Clear, standardized images let us align tooth length, width, and midline to your features before any treatment begins. They also create a shared visual map so you, the dentist, and the lab can discuss goals using the same references.
In our smile design digital workflow, we capture full‑face photos at rest and smiling, close‑ups of the teeth, retracted views to see gumlines, and often short videos to observe speech and a natural, unposed smile. These records show tooth display at rest, the smile arc, and how the lips frame the front teeth in motion. We calibrate images with a simple reference so measurements on screen match real‑world size, then position proposed incisal edges and contours to your facial midline and pupils. This facially guided approach helps us plan esthetics that look natural in everyday life, not just in the dental chair.
Photos also connect 2D planning to 3D design. We align your images with intraoral scans, create a design that respects your bite, and transfer it to a mock‑up you can try. Seeing the mock‑up on your own teeth makes choices clearer—sometimes minor contouring or conservative dental bonding for small chips or edges is enough, while other times a broader plan is better. Because the preview is based on your actual face and movements, adjustments are easier to visualize and refine together.
A few practical notes help photos work harder for you: neutral expressions first, then natural and posed smiles; consistent lighting; and minimal glare on teeth. Avoid heavy lip color that might hide the gumline, and bring any older photos that show your preferred tooth shape or length. If you’re curious about brightness changes that pair well with design, we can discuss professional teeth whitening options after the mock‑up. For visit timing or planning around daylight for photography, see our current hours.
Utilizing Face Scans for Precision
Face scans add a 3D view of your head and expressions, so tooth plans can be aligned to your true midline, smile curve, and natural head position. When we merge a facial scan with your intraoral scan, the design reflects how teeth, lips, and cheeks interact in real life—not just on a model. This helps us set tooth length and position more precisely and transfer that plan into a realistic mock‑up you can try.
What does that look like in practice? We capture a neutral face, a relaxed pose, and a broad smile so we can see tooth display at rest and in motion. The facial scan is calibrated and oriented to your natural head position, then registered to your digital dental scan. This creates a single “virtual patient” where we can check symmetry, smile arc, and lip support before any drilling or bonding. It fits neatly within our smile design digital workflow, making each step traceable from photo to 3D print.
Clinically, face‑guided planning helps answer key questions early: How long should the front teeth be for speech and esthetics? Does the incisal plane match the pupils and smile curve? Will slight rotation or contouring improve balance more than adding width? With the 3D face as our map, we can preview outcomes and decide whether conservative changes are enough or if broader restorative care—such as planning for crowns or bridges that harmonize with your facial features—would better meet your goals. The shared 3D view also improves communication with the lab, so the mock‑up you test drive closely matches the final intent.
Face scans are especially helpful when midlines are off, the bite is uneven, or multiple teeth are missing. They guide tooth position when rebuilding surfaces, closing spaces, or restoring lip support after tooth loss. In full‑arch cases, the facial scan helps set the smile line and tooth display before we commit to the prosthetic shape, which is valuable for treatments like full‑arch implant rehabilitation using an All‑on‑4 style approach. Practical notes: avoid hats and large glasses during scanning, keep hair off the face, and hold still for a few seconds so the scan captures clean contours.
Creating Test-Drive Provisionals
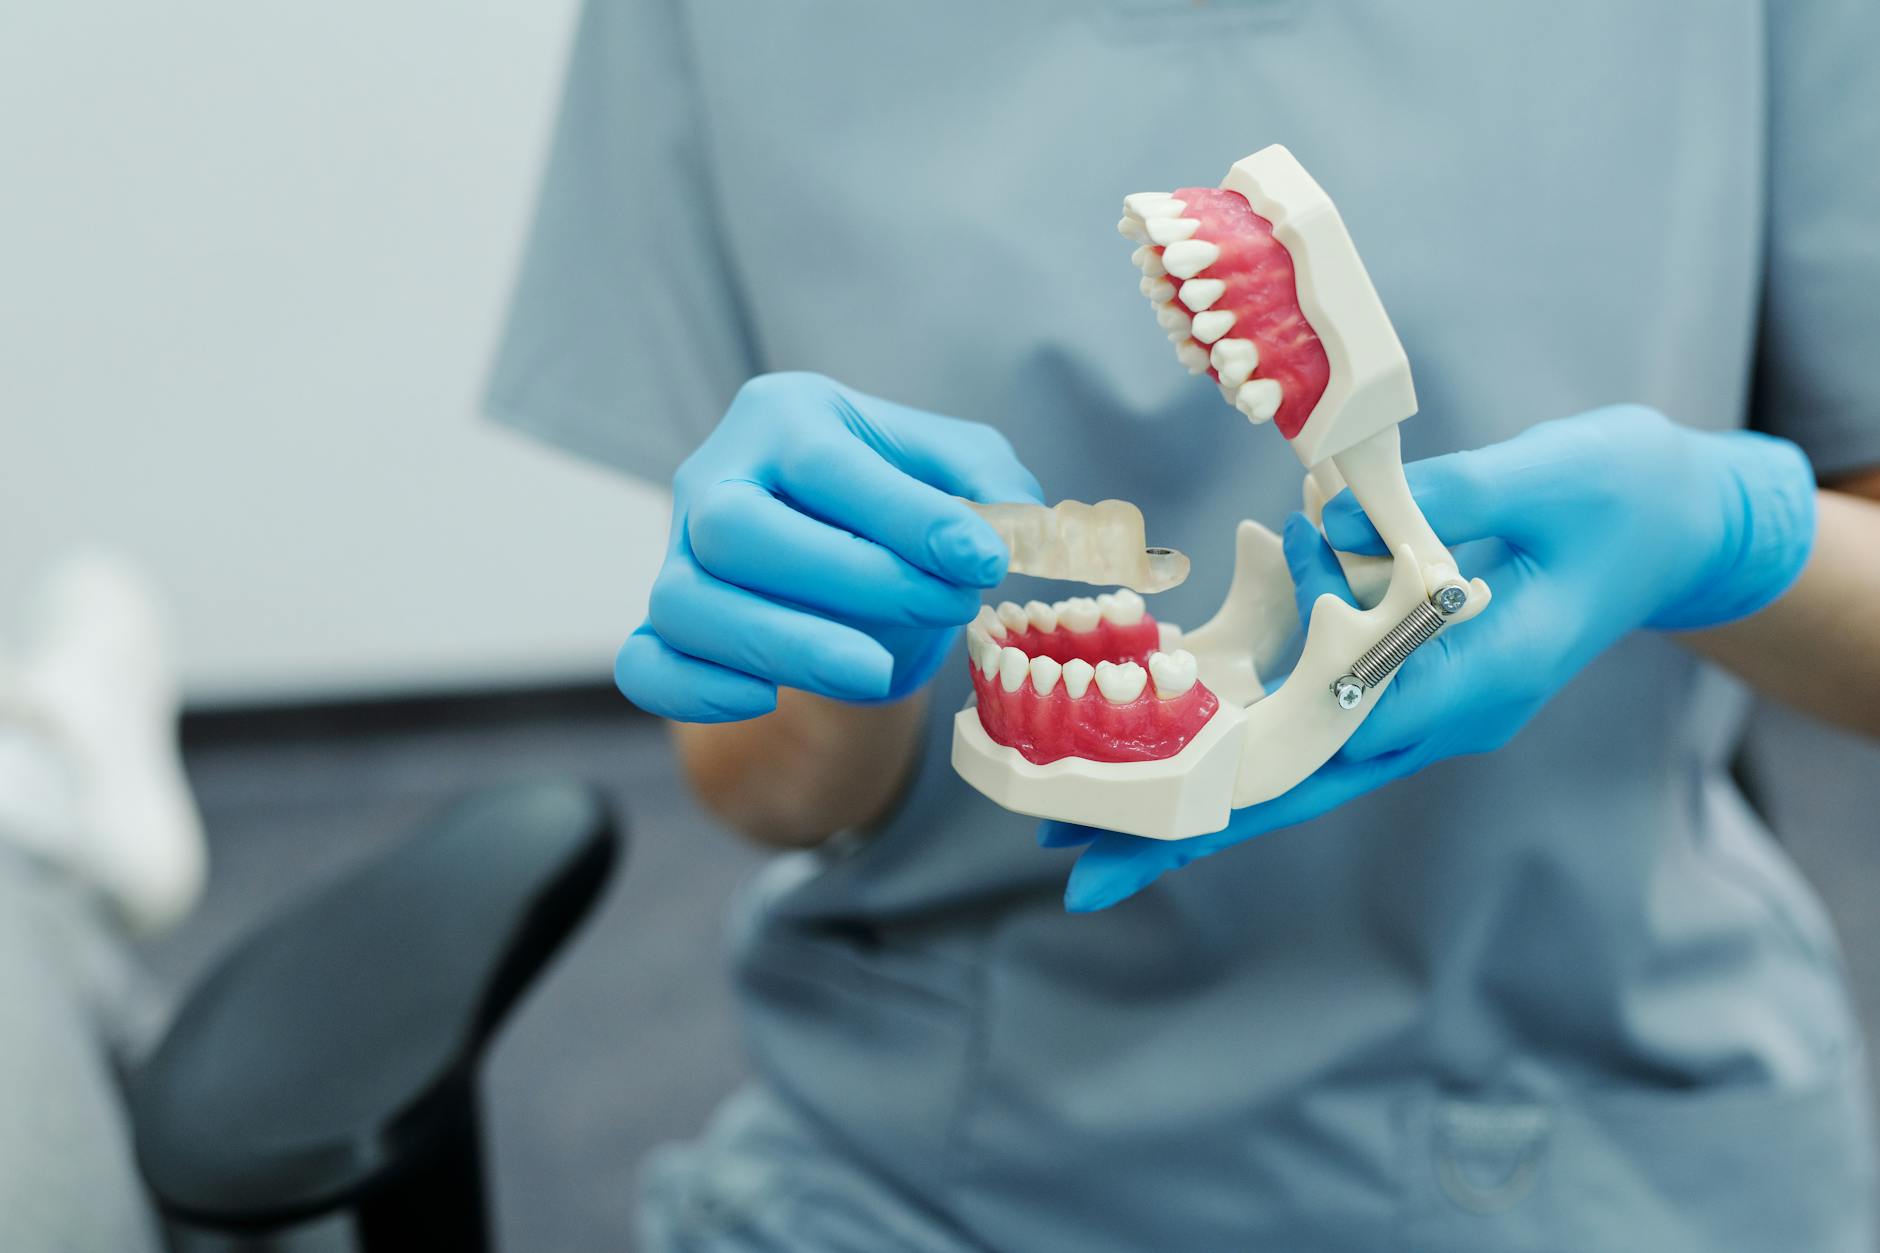
Test-drive provisionals are temporary mock-up teeth made from your digital smile plan so you can see and feel the proposed changes in real life. They let us check look, speech, and bite before any final treatment. Because they are reversible, you can give feedback and we can adjust the design safely.
We start with your 3D design and print or mill a transfer guide (an index) that fits over your teeth. Using that guide, we place a thin layer of provisional material over the front surfaces to copy the planned shapes and lengths with high accuracy. This step fits neatly within our smile design digital workflow, connecting photos, scans, and design to a real-world try-in. The material bonds lightly to enamel for the short term, so removal later is gentle and preserves your natural teeth.
Right after placement, we smooth edges, check your bite, and listen to “F” and “S” sounds to fine‑tune front‑tooth length and position. You then “test‑drive” the mock-up in normal life—talking, smiling, and chewing soft foods—so you can judge comfort, lip support, and style in different lighting. Small chips or shiny wear spots can be useful feedback; they often mark stress points we can strengthen or reshape in the next iteration. We gather notes, photos, and your preferences, then update the digital plan and, if needed, make a refined mock-up.
These provisionals are temporary by design. They may stain or chip, and that is okay—the goal is learning, not perfection. Avoid very hard or sticky foods while you test them. If the final plan includes bonding, veneers, or crowns, the approved mock-up serves as a guide so tooth preparation stays minimal and targeted. For larger changes, we may stage the process—using aligners first to move teeth into better positions, then repeating a focused mock-up to confirm details. At each step, your feedback shapes the outcome, so the final restorations reflect what you have already seen, felt, and approved.
The Digital Workflow Explained
The digital workflow turns records of your face and teeth into a plan you can see, try, and refine before any final treatment. We collect photos, videos, and scans, line them up to your facial landmarks, and design proposed tooth shapes and positions. Then we transfer that design to a temporary “test‑drive” so you can judge look, speech, and comfort in real life.
It starts with accurate records. We take standardized full‑face and close‑up photos, short videos to see your smile in motion, and intraoral scans for detailed tooth and bite data. When helpful, a facial scan adds your natural head position and soft tissues. These files are calibrated so on‑screen measurements match real size, letting us plan tooth length, width, and the smile curve to your midline and lip line.
Next comes design and bite checks. We place a 2D sketch over your images to set the incisal edge position and tooth proportions, then convert that into a 3D design that fits your bite. We review esthetics (symmetry, display at rest, smile arc) and function (space for speech sounds and chewing). This stage also maps treatment paths, from minor reshaping or bonding to tooth movement or restorations, based on what the mock‑up shows.
We then print or mill a precise index to copy the 3D plan onto your teeth as a temporary mock‑up. You wear it in normal life, try different lighting, and note comfort, lip support, and any high spots. We listen to “F” and “S” sounds to confirm front‑tooth length, adjust if needed, and update the design. This feedback loop keeps changes conservative by showing what to add, move, or leave alone.
Finally, we lock in the approved design. Photos and scans of the test‑drive guide the lab so the final work matches what you chose. The goal of a smile design digital workflow is traceability: every step links back to your face and bite, reducing guesswork and helping us deliver a result you have already seen and felt—before anything becomes permanent.
Steps in the Smile Makeover Process
A smile makeover follows a clear path: we learn your goals, gather accurate records, design the plan on screen, and let you “test‑drive” the result before anything is final. Each step is linked to your face and bite so changes feel natural and function well. Published protocols describe stepwise digital smile design that overlays 2D templates on photos and then guides 3D mock‑ups [1].
First comes a conversation about what you like and what you want to change. We take standardized photos, short videos, and intraoral scans so measurements on screen match real‑life size. Using those records, we sketch proposed tooth edges and shapes over your images, align them to your facial midline and smile curve, and check how much tooth shows at rest and in a full smile. That sketch is then turned into a 3D design that fits your bite and speech space.
Next, we copy the 3D design to your teeth as a temporary mock‑up. You can see and feel tooth length, width, and lip support in normal life—talking, smiling, and trying different lighting. We listen for “F” and “S” sounds, check your bite, and note any areas that feel high or sharp. Your feedback drives refinements, and we update the digital plan so each change is intentional and traceable.
Health and function come first. We address gum health, cracks, or decay that could limit results; this may include root canal treatment if a tooth is infected before cosmetic steps. When longer visits are expected or you feel anxious, we can discuss oral sedation to make care more comfortable. With the approved mock‑up as our guide, we finalize the plan—sometimes minor contouring or bonding is enough; other times we plan aligners or restorations. The goal of a smile design digital workflow is simple: see it, test it, refine it, then make it real with confidence [1].
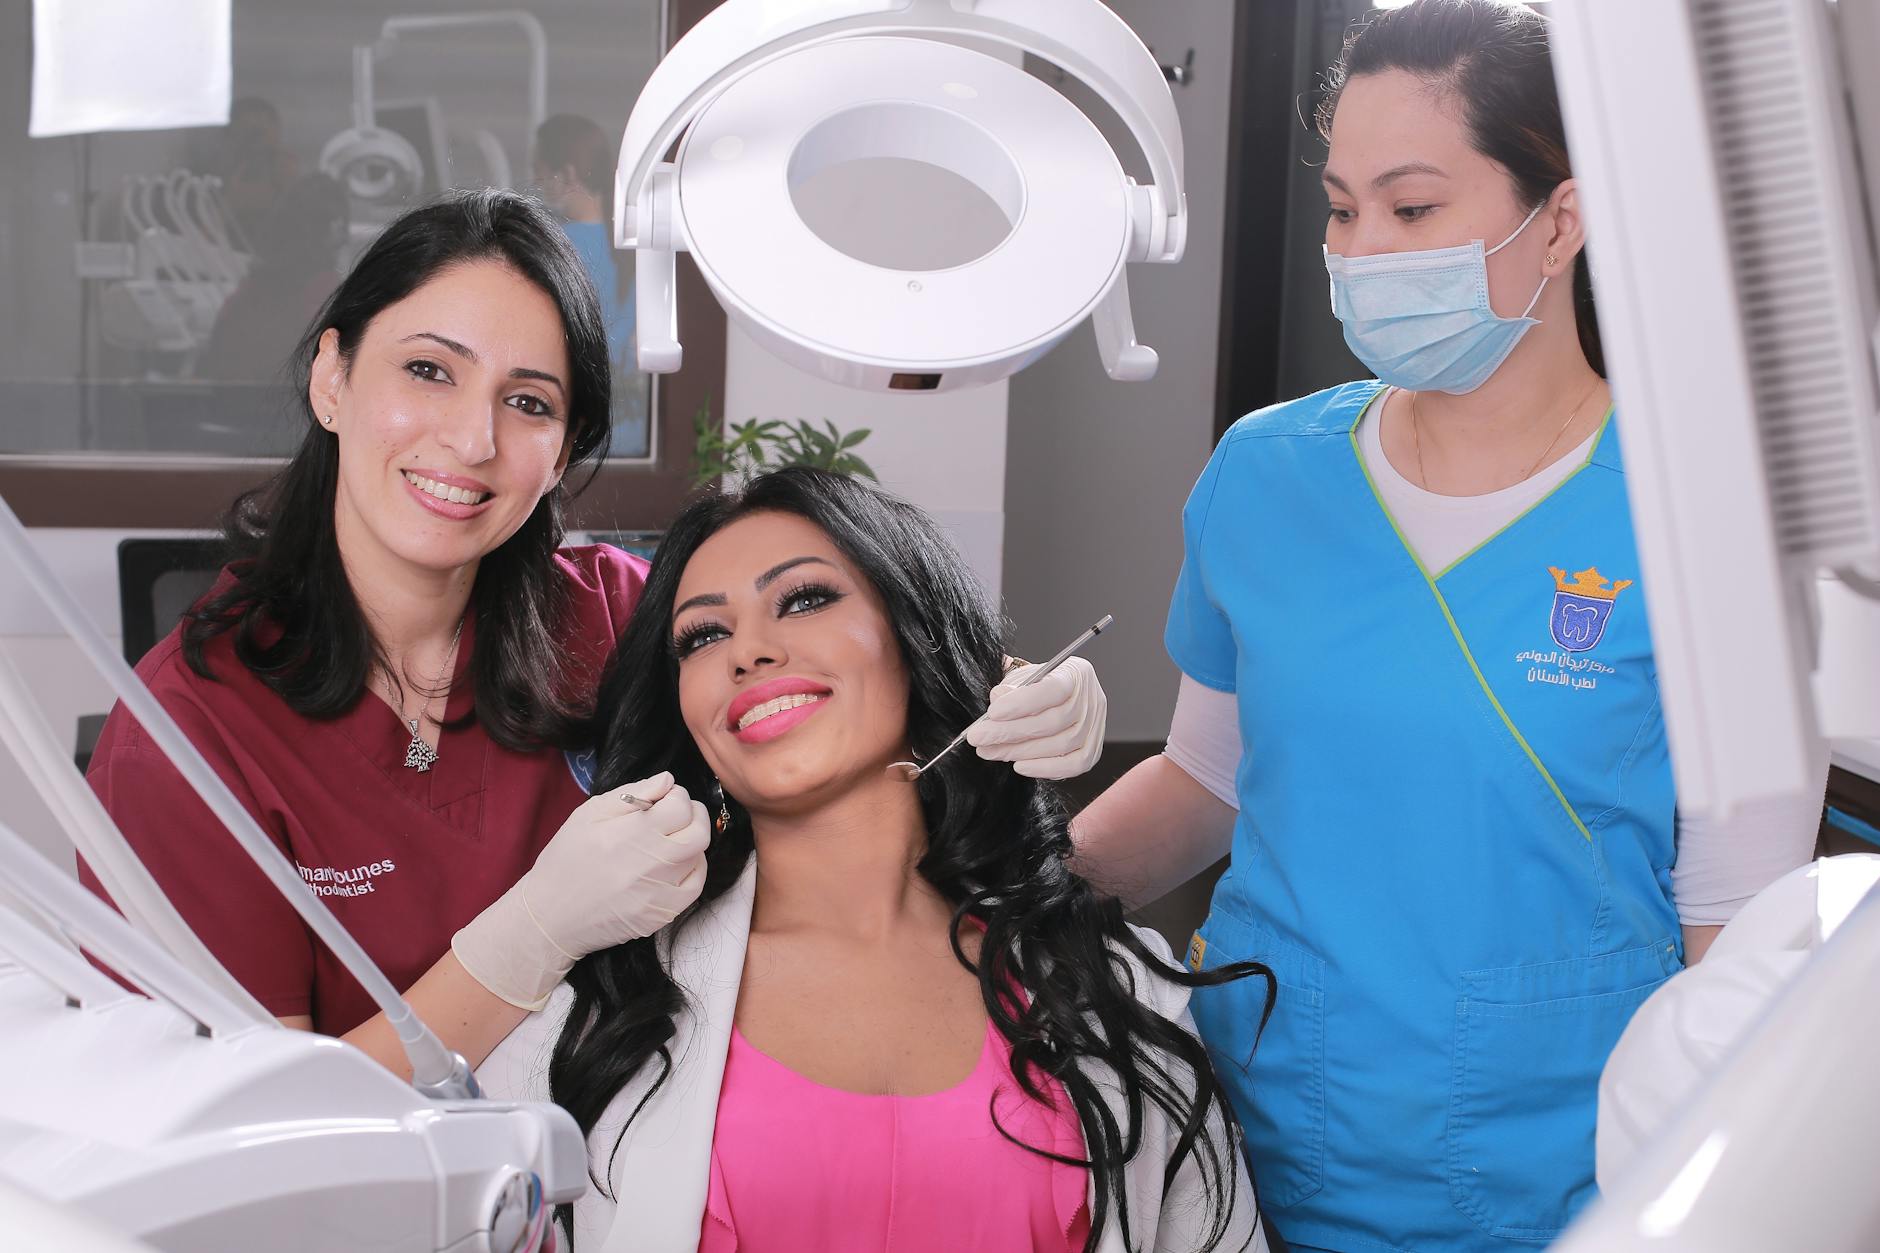
Enhancing Patient Communication
Digital Smile Design improves communication by turning ideas into visuals you can see and try. Instead of guessing, we review photos, scans, and a mock‑up together, so you can point to what you like and what you want to change. This shared view reduces confusion, sets clear expectations, and keeps choices within what is healthy and realistic in a smile design digital workflow.
We start by learning your goals in plain language, then mark up your photos on screen to show tooth length, shape, and the smile line. Side‑by‑side previews make trade‑offs clear—for example, how a slightly shorter edge may help speech or how a lighter shade affects contrast with your skin tone. If you are missing a few teeth, we can discuss tooth display and gum contours while planning for partial dentures that match your smile, using the same visual references so everyone stays aligned.
The mock‑up is a key communication tool. You can wear it, speak, and see it in different lighting, then give specific feedback: “These edges feel long when I say F,” or “I prefer a softer corner on the front teeth.” We record those notes and adjust the design before anything becomes permanent. In full‑arch or implant cases, the same approach clarifies lip support, smile curve, and speech space while previewing options like snap‑in implant dentures for added stability.
We summarize decisions after each step—what changed, why it changed, and what comes next—so consent feels informed, not rushed. Visual, interactive tools like these have been shown to support shared decision‑making in healthcare, helping patients understand choices and take part in selecting their plan [2]. Clear records and a traceable design make it easy to revisit earlier versions, compare updates, and confirm the final look and function match what you already saw and felt.
Benefits of Digital Smile Design
Digital Smile Design lets you preview changes before anything is permanent, so choices feel clearer and less risky. It improves accuracy by aligning tooth plans to your face, lips, and bite on screen, then copying that plan into a real‑life mock‑up you can try. Because the steps are traceable, it supports conservative care—showing what to add, move, or leave alone. The result is better communication, fewer surprises, and a design that fits both esthetics and function.
Seeing your proposed smile on your own face helps you decide with confidence. You can compare shapes and lengths, view them in photos and video, and then “test‑drive” a temporary version to check speech, comfort, and everyday look. This reduces guesswork and makes it easier to request precise adjustments, like softer corners or a slightly shorter edge, before any final work.
For the dental team and lab, shared digital references improve consistency. Photos, scans, and measurements are calibrated, so what we plan on screen can be transferred to your teeth with accuracy. If we refine the mock‑up, those changes are recorded and sent back to the design, creating a clear feedback loop. That traceability keeps the smile design digital workflow efficient and focused on your goals.
Function is built in from the start. We check the bite and speech space while we plan esthetics, which helps avoid edges that feel sharp, teeth that sound “long” on F or S, or shapes that are hard to clean. When tooth movement, bonding, or restorations are considered, the preview shows what combination meets your goals with the least invasive path.
Digital records also support timing and comfort. Plans can be staged—aligners first, then bonding or veneers—so each step is purposeful. If you prefer to live with a mock‑up for a short period, we can, noting any wear spots or areas to strengthen. In larger cases, transferring an approved design helps guide gum levels, lip support, and tooth display before anything becomes permanent. Overall, the benefit is simple: you see it, feel it, refine it, and then proceed with confidence.
Predicting the Final Outcome
We predict the final outcome by linking a face‑guided digital design to a real‑world mock‑up you can wear. First we plan tooth length, shape, and position on calibrated photos and scans; then we copy that plan to temporary “test‑drive” teeth. Your feedback on look, speech, and comfort lets us refine details before any final treatment, so the approved design becomes the blueprint for the lab.
The incisal edge (the biting edge of front teeth) is a key predictor. We set it to match how much tooth shows at rest and to follow your smile curve, then listen to “F” and “S” sounds to fine‑tune length and position. We check your bite with the mock‑up in place, looking for even contacts and smooth guidance when you slide your teeth, because functional balance helps the final result feel natural day to day. Shade is previewed in different lighting so you can see brightness and contrast in real life, not just under a dental lamp.
Accuracy comes from traceability. Because photos and scans are calibrated, the shapes and positions you approve can be transferred to the lab with minimal interpretation. We photograph and scan the mock‑up you liked best, note any pressure spots or sharp edges, and record specific requests (for example, “soften the corner on the right front tooth”). The lab then builds the final restorations to this reference, and we compare them to your approved mock‑up at delivery.
What can and cannot be predicted? Tooth shape, length, symmetry, and lip support are highly previewable; bite contacts and speech feel are also testable with the mock‑up. Gum response, individual color perception, and how parafunction (night grinding) may wear edges are less predictable, so we discuss protections like a night guard when appropriate. If orthodontic movement or tissue healing is part of your plan, we stage the steps and re‑mock‑up as needed. In short, a smile design digital workflow reduces guesswork by letting you see, feel, and adjust the proposed result before anything becomes permanent.
Managing Patient Expectations
We manage expectations by showing what’s likely and what’s uncertain before anything is permanent. With photos, scans, and a “test‑drive” mock‑up, you can see and feel proposed changes, then we adjust together. We agree on goals, limits, and timelines up front so the plan fits your life, health, and budget of time. This makes a smile design digital workflow clear and traceable from preview to final.
What you can expect to preview well: tooth shape, length, symmetry, and lip support. We also check speech sounds and your bite with the mock‑up in place, so edges that feel “long” or contacts that feel high can be fixed early. What varies more: gum healing, shade perception in different lights, and how habits like night grinding may affect wear. We plan protections—polish adjustments, a night guard if needed, and regular maintenance—so results last.
Timelines are discussed in plain terms. Minor contouring or bonding can move quickly; tooth movement or gum reshaping takes more time. A mock‑up may be worn for days to gather feedback, then refined once or twice before final work. If other care is needed first (like treating decay or removing a failing tooth), we sequence steps and explain how healing affects when we re‑mock‑up and when finals are delivered.
Comfort and visit length are part of the plan, too. We review numbing options and, when appropriate, discuss deep sedation choices for longer or complex visits so you know what to expect before, during, and after care. Clear after‑visit instructions help you protect provisionals and recognize what is normal (temporary sensitivity, minor edge wear) versus when to call.
Expect honest limits. A mock‑up shows possible shapes on your real teeth, but it does not change bone or gum biology. Heavily worn bites or missing teeth may need staged care. If a tooth must be removed, we explain swelling, soft‑food periods, and when esthetic steps resume; learn more about timing and recovery for wisdom tooth removal when it’s part of a broader plan. At every visit, we summarize choices, changes, and next steps so you feel informed and in control.
Transitioning from Design to Reality
We turn your approved preview into real teeth by copying the mock‑up you tried into precise guides for treatment. Those guides help us keep changes minimal, protect healthy tooth, and match what you already saw and felt. Step by step, we check fit, speech, and bite so the final result is predictable and comfortable.
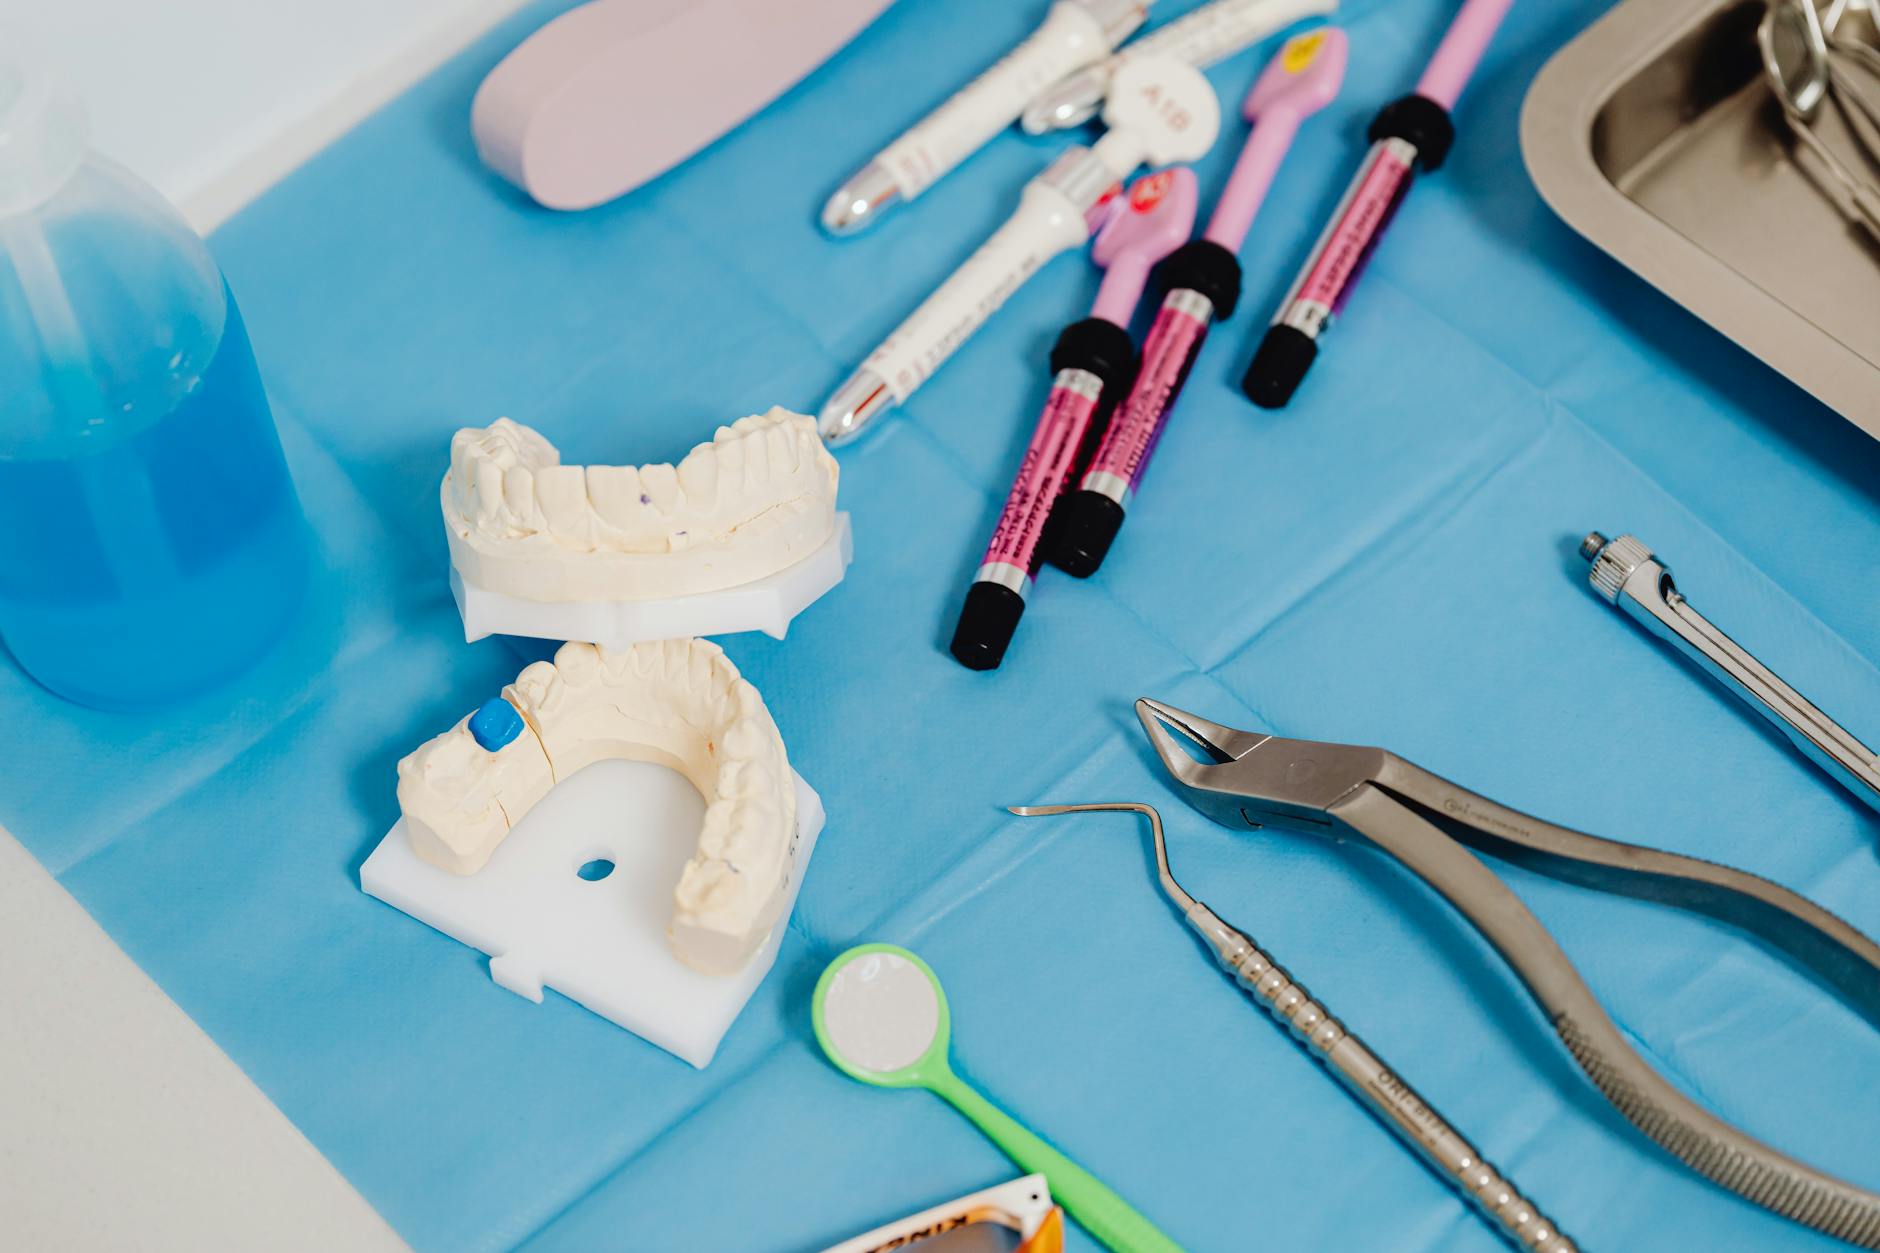
After you approve the mock‑up, we record it carefully with photos and digital scans. These records show tooth length, shape, and lip support in your real smile, and they guide the lab. We create simple “reduction guides” to show if any small trimming is needed and where we can stay additive (building up rather than cutting down). Shade is mapped in natural and room light, and we note surface texture you prefer (glossy, satin, or a mix). Bite records confirm how upper and lower teeth meet so contacts are even. This keeps the smile design digital workflow traceable from screen to final.
On preparation day (if prep is needed), we use depth markers and guides so changes are targeted and as light as possible. We place new temporaries that copy the approved design, then adjust edges and speech sounds (“F” and “S”) in the chair. You wear these temporaries briefly to confirm comfort and look in everyday light. Any feedback—like a corner that feels sharp or a contact that feels high—is recorded and sent to the lab. Our goal is to solve small issues now, before anything is permanent.
At the try‑in visit, we check the fit, margins, and contacts first, then phonetics and smile line. We review shade under different lights to avoid surprises, and we compare the restorations to photos of your approved mock‑up. When you and the doctor are happy, we bond or cement the restorations and recheck your bite in all movements. Final photos and scans become your new baseline, and we discuss care, cleaning, and protection (such as a night guard if you clench). Follow‑up visits allow tiny refinements so the result looks natural, functions well, and matches the plan you approved.
Follow-Up Care After Smile Design
Follow‑up care checks how your new smile looks, feels, and functions in real life, then makes small refinements as needed. We schedule short visits after your mock‑up or final restorations to adjust edges, speech, and bite. These appointments help protect your teeth and make the result feel natural day to day.
Right after placement, expect a check within about one to two weeks. We review photos, listen to “F” and “S” sounds, and smooth any edges that feel sharp to your lips or tongue. Bite contacts are rechecked, and when helpful we use digital occlusal records with an intraoral scanner to fine‑tune guidance and comfort [3]. If you are wearing a test‑drive mock‑up, small chips or shiny wear spots show us where to strengthen the design before anything is permanent.
At home, treat provisionals with care: choose softer foods, avoid very hard or sticky items, and clean gently with a soft brush. Floss daily; if contacts are snug, a floss threader or water flosser can help. Mild temperature sensitivity is common for a few days and usually settles. Call if you notice swelling, a cracked provisional, or a bite that feels uneven after a day or two of normal chewing. If you plan tooth whitening, we time it so shade choices for finals are accurate and stable.
Long‑term, we see you on your normal hygiene schedule and do focused esthetic and bite checks at three to six months. If you clench or grind, a custom night guard helps protect edges and surfaces. If aligners or tooth movement were part of your plan, wear retainers as directed to keep teeth in position. We may repeat quick photos or scans to confirm the smile line, symmetry, and color still match what you approved. This keeps the smile design digital workflow traceable over time, so any small change is intentional and easy to communicate. With regular care and protections, most refinements are minor—polish a corner, adjust a high spot, or refresh surface gloss—so your smile continues to look natural and feel comfortable.
Frequently Asked Questions
Here are quick answers to common questions people have about Digital Smile Design: From Photos to Test-Drive in Glendale, AZ.
- What is Digital Smile Design?
Digital Smile Design (DSD) is a planning method that uses digital tools like photos, videos, and scans to design a smile that fits your face before any dental work starts. It helps visualize tooth shapes and positions on a screen, turning them into a 3D mock-up you can try in your mouth. This way, you preview your smile, making it easier to decide and feel confident in your choices.
- How does a smile design digital workflow work?
A smile design digital workflow starts by capturing detailed records like photos, videos, and intraoral scans. These are used to make a facially guided plan that aligns with your features. A 3D mock-up is created for you to try, helping adjust the design as needed. This method boosts communication and ensures comfort before starting any permanent treatment.
- Why are photos crucial in digital smile design?
Photos are essential in digital smile design because they show how your teeth relate to your face and expressions. They provide a visual map, allowing the dental team to align tooth length and midline with your features accurately. Consistent photos help everyone involved— from you to the dentist and dental lab—understand and discuss your goals clearly.
- How does digital smile design enhance patient communication?
Digital Smile Design enhances communication by transforming ideas into visible plans. You can see mock-ups and point out preferences, reducing confusion and setting clear expectations. By discussing visuals, such as tooth length and smile lines, patients and dentists can achieve shared understanding, ensuring everyone is on the same page.
- What are test-drive provisionals in digital smile design?
Test-drive provisionals are temporary mock-up teeth made from your digital design, allowing you to see and feel proposed changes before final treatment. These teeth help evaluate appearance, speech, and bite, ensuring comfort and satisfaction. They are reversible, allowing safe adjustments based on your feedback, and play a key part in your digital smile design journey.
- How are face scans used in Digital Smile Design?
Face scans add a 3D view of your head and expressions to align tooth plans precisely with your true midline and other facial features. By merging facial and intraoral scans, the designs reflect real-life interactions of teeth, lips, and cheeks, creating a realistic and functional mock-up for your evaluation.
- What should you expect during follow-up care after smile design?
In follow-up care, we check how your new smile looks and feels, making small adjustments if needed. These visits ensure edges are comfortable, the bite is right, and speech is clear. We may perform minor tweaks based on how your teeth respond, supporting a natural and comfortable fit in daily life.
References
- [1] Ten Steps to Create Virtual Smile Design Templates With Adobe Photoshop® CS6. (2018) — PubMed:29493251
- [2] Effect of Mobile Augmented Reality Counseling on Improving Shared Decision-Making in Thoracic Surgery: A Randomized Clinical Crossover Trial. (2025) — PubMed:41069141 / DOI: 10.2196/79632
- [3] An interdisciplinary treatment to reshape upper anterior displaced teeth by using dynamic occlusal recording with an intraoral scanner. (2024) — PubMed:39031028 / DOI: 10.1111/jerd.13275