Understanding Tooth Sensitivity
Tooth sensitivity is a brief, sharp pain when a tooth reacts to cold, sweet, touch, or air. It happens when the protective enamel or gum covering thins, exposing tiny tubules in the dentin that carry signals to the nerve. Knowing why a tooth is sensitive helps us choose safe, effective steps before cosmetic work. Addressing sensitivity first makes treatment more comfortable and predictable.
You sip ice water and feel a sharp zing. That signal travels through fluid-filled dentin tubules to the inner nerve. When enamel is worn or gums recede, more tubules are open, so temperature or pressure changes move fluid more easily. This movement triggers pain quickly, then fades as the fluid stabilizes. If pain lingers for minutes, the nerve may be inflamed and needs closer evaluation.
Common reasons for sensitivity include:
- Gum recession that exposes root dentin.
- Enamel wear from grinding or acid erosion.
- Over-brushing with stiff technique or abrasive paste.
- Cracked or chipped teeth that transmit forces to the nerve.
- Leaky or worn fillings near the gumline.
- Recent whitening, which can temporarily increase sensitivity.
Understanding the cause matters before bonding. If a tooth is sore, it is harder to keep it dry and still, which can affect how well adhesive seals the surface. Calming the tooth first, with gentle care and compatible desensitizing options, improves comfort and supports a strong bond. Options may include tubule-blocking agents, potassium nitrate, fluoride varnish, or a thin resin seal placed ahead of time, chosen to fit your situation. When you are ready, you can read more about dental bonding and how it restores minor chips or edges.
In short, sensitivity is a signal. Find the cause, quiet the nerve, then proceed with precise bonding steps. The next section explains how desensitizing before bonding is planned and performed.
Reasons for Desensitizing Before Bonding
Desensitizing before bonding helps keep you comfortable and helps the adhesive work predictably. Calming sensitive dentin reduces fluid flow inside the tooth, so cold air, rinses, and light pressure do not trigger sharp pain. It also makes it easier to keep the tooth still and dry, which supports a strong seal. In short, it improves comfort and conditions for reliable bonding.
A quick real-world scene: a burst of air makes you wince before the procedure begins. That reaction signals open dentin tubules and fluid movement toward the nerve. Desensitizing agents reduce dentin permeability by sealing or narrowing those tubules, so stimuli move less fluid and the nerve is less reactive. Lower permeability also limits pulpal irritation during etching, rinsing, and curing, which can reduce post‑procedure sensitivity when used appropriately [1].
There is also a technical reason. Adhesives perform best on a quiet, stable surface with minimal moisture from dentin. Pre-desensitizing can create a more controlled substrate without compromising bond strength when compatible materials and steps are chosen. For example, in-office arginine and calcium carbonate pastes have shown no significant reduction in microtensile bond strength of self-etch adhesives to dentin when applied according to protocols [2]. Similarly, nano-hydroxyapatite pastes have been reported to maintain dentin bond strength with several self-etch systems, supporting their use in sensitivity control prior to bonding [3].
Planning matters to avoid conflicts between products. We match the desensitizer to the adhesive type, adjust timing, and confirm isolation. If pain lingers after cold for minutes, or there is deep decay, desensitizing alone may not be enough. In those cases we first evaluate the nerve and discuss care options, which can include root canal treatment for a persistently inflamed tooth. Then, with symptoms quieted and the surface prepared, bonding proceeds with better comfort and predictability.
The takeaway: calm the tooth, control the surface, then bond with confidence.
Overview of Desensitizing Techniques
Desensitizing techniques are steps used before cosmetic bonding to quiet sensitive teeth and prepare a friendlier surface for adhesives. They work by reducing fluid movement inside dentin, sealing open tubules, and calming nerve response. When planned correctly, desensitizing before bonding makes the visit more comfortable and supports a strong, lasting bond.
Some relief can start at home a few days in advance. A soft brush and a low‑abrasion toothpaste with potassium nitrate or stannous fluoride help soothe exposed dentin. Limiting acidic drinks, using lukewarm water, and avoiding aggressive brushing protect the surface while the tooth settles. If sensitivity followed whitening, we adjust the timeline or add in‑office support; you can read more about our in‑office teeth whitening approach.
In the office, quick‑acting agents are chosen to match your adhesive system. Fluoride varnish can strengthen exposed dentin and reduce responses to cold. Arginine with calcium carbonate, oxalate solutions, and calcium phosphate or nano‑hydroxyapatite pastes can occlude tubules, lowering dentin permeability. Glutaraldehyde‑based liquids with hydrophilic monomers can coagulate proteins within tubules and calm fluid flow. The sequence matters, so we confirm whether we will use self‑etch, selective‑etch, or total‑etch bonding, then apply, rinse, and air‑dry as indicated so the desensitizer supports, not blocks, the bond.
For teeth that remain reactive, a thin resin seal may be placed ahead of the final bonding. This creates a smooth, sealed layer that protects dentin, then the cosmetic shaping is bonded onto that stable surface at a later visit. Lasers and gentle technique modifications also help, such as warm water rinses and controlled air on low pressure. If broader changes are planned, like covering worn edges, see how porcelain veneers can address shape and color while we manage sensitivity during preparation.
We tailor these steps to your cause of sensitivity, test comfort with air and cold, and proceed once the tooth is quiet. The next section outlines how we select materials and apply them in a clear, stepwise plan. Comfort first, then precise bonding.
The Role of Primers in Bonding
Primers are thin, liquid steps that prepare tooth surfaces so adhesives stick well. They wet the surface, carry bonding molecules into tiny spaces, and help seal dentin tubules. Used correctly, primers support comfort and strong adhesion, especially when paired with desensitizing before bonding.
You feel a light air puff on a prepared tooth. After cleaning or etching, dentin has a moist collagen network that can be hard to seal. Primers contain solvents, such as water, ethanol, or acetone, that spread easily and carry functional monomers into that network. This creates a blended zone, called the hybrid layer, where resin interlocks with dentin. Some monomers also bond chemically to residual hydroxyapatite, which can improve the durability of the seal over time.
The type of primer depends on the bonding approach. In total-etch techniques, acid first removes the smear layer, then primer is applied to gently moist dentin so collagen does not collapse. In self-etch or universal systems, acidic primer both conditions and primes in one step, softening the smear layer and infiltrating at the same time. The choice is guided by the tooth location, how much dentin is exposed, and moisture control. When a desensitizer is used first, we select a compatible adhesive so tubules are calmed yet still receptive to primer, then air-dry to remove solvent and light-cure to complete the seal.
For patients, good priming means less cold response during the visit and fewer lingering zings afterward. It also means the bonded edges resist staining and leakage better because the interface is tightly sealed. If a tooth needs more coverage than bonding alone, we may discuss options like crowns and bridges that rebuild form and function, applying the same principles of careful priming at the tooth surface. Clear steps, including smart primer use, set up comfortable, reliable results.
How Desensitizing Affects Bond Strength
Desensitizing changes the tooth surface in ways that can help, or sometimes hinder, how well resin bonds. By sealing or narrowing dentin tubules, these agents lower fluid flow and make it easier for primers to soak in. Some products, however, can leave a residue that blocks resin if the steps are not matched. With the right pairing and sequence, desensitizing before bonding usually keeps bond strength stable and comfort high.
A quick scene: a cool air puff makes a tooth twinge during try‑in. Tubule‑occluding agents, such as calcium or phosphate pastes, create mineral plugs, while glutaraldehyde‑based liquids coagulate proteins inside tubules. Both actions reduce permeability and calm the surface, which often supports the adhesive seal. A systematic review found that effects on retention are product and cement dependent, but commonly neutral when resin cements are used correctly [4].
Technique matters. Self‑etch and universal adhesives rely on good wetting, scrub time, and careful air‑drying so monomers reach collagen and residual hydroxyapatite. If a desensitizer leaves a thick film, it may limit penetration, so clinicians may rinse, lightly re‑etch, or extend scrubbing to restore access. In vitro work shows different desensitizers can increase, not change, or decrease shear bond strength of self‑adhesive resin cements to dentin, highlighting the need to match materials and steps [5]. Some bioactive pastes, like fluoride bioactive glass, have even improved bond durability while aiding remineralization before adhesive placement [6].
For patients, the goal is simple: less sensitivity without sacrificing strength or longevity. We confirm product compatibility, remove any at‑home paste residue, and test with gentle air before we bond. These choices protect comfort today and support stain‑resistant, long‑lasting edges tomorrow. The takeaway: calm the tooth, choose compatible steps, then bond with confidence.
Choosing the Right Desensitizer
The right desensitizer is the one that calms your tooth without blocking the planned adhesive. We choose based on the cause of sensitivity, how much dentin is exposed, and the bonding method we will use. The goal is simple: reduce fluid movement in the tooth, keep you comfortable, and keep the surface ready for a strong bond.
You feel a quick zing when cool air touches a tooth. That tells us dentin tubules are open and reactive. Some agents work by plugging those tubules with minerals, such as fluoride varnish, arginine with calcium carbonate, calcium phosphate, or nano‑hydroxyapatite. Others, like glutaraldehyde with hydrophilic monomers, reduce fluid flow by coagulating proteins inside the tubules. Potassium nitrate soothes nerves by lowering their response to triggers. With each option, we confirm it will not leave a heavy film that blocks primer or adhesive.
We match the product to the situation. If sensitivity is near the gum on exposed root dentin, a tubule‑occluding paste or solution is often helpful. If the tooth is reactive after recent whitening, a short pause plus a gentle in‑office desensitizer can restore comfort before we proceed. For shallow enamel sensitivity, a thin fluoride varnish may be enough and will not interfere with careful bonding steps. Because adhesives differ, we plan whether we will use self‑etch, selective‑etch, or total‑etch, then set the sequence so the desensitizer supports wetting, infiltration, and curing.
Comfort and moisture control guide timing. We remove any at‑home paste residue, isolate the area, and test with a gentle air puff. If cold causes pain that lingers for minutes, or if there is deep decay, we address the nerve and the cavity first, then return to bonding once the tooth is quiet. Used thoughtfully, desensitizing before bonding eases the visit and protects long‑term edges and shine. The takeaway: calm tubules, keep compatibility, and the bond can thrive.
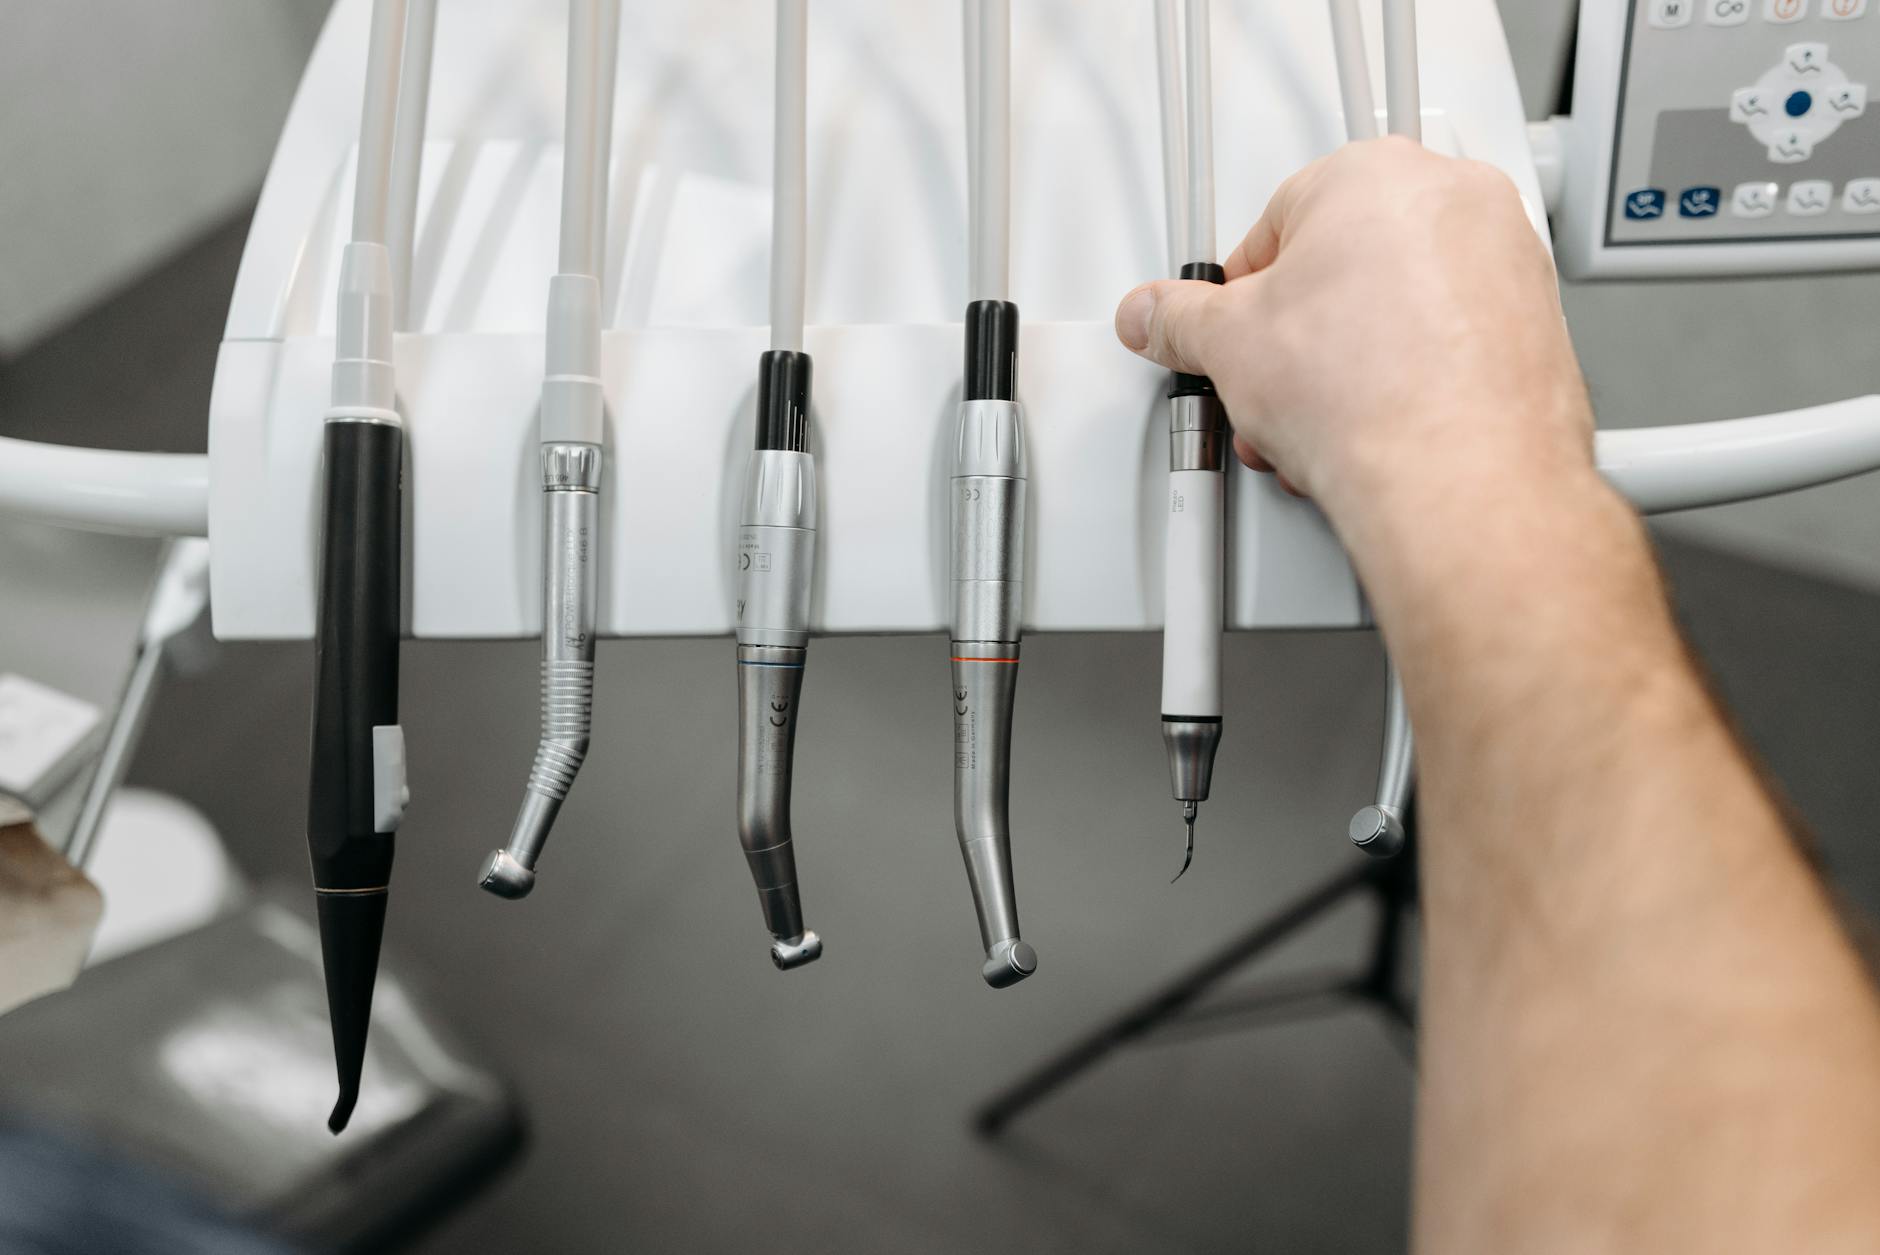
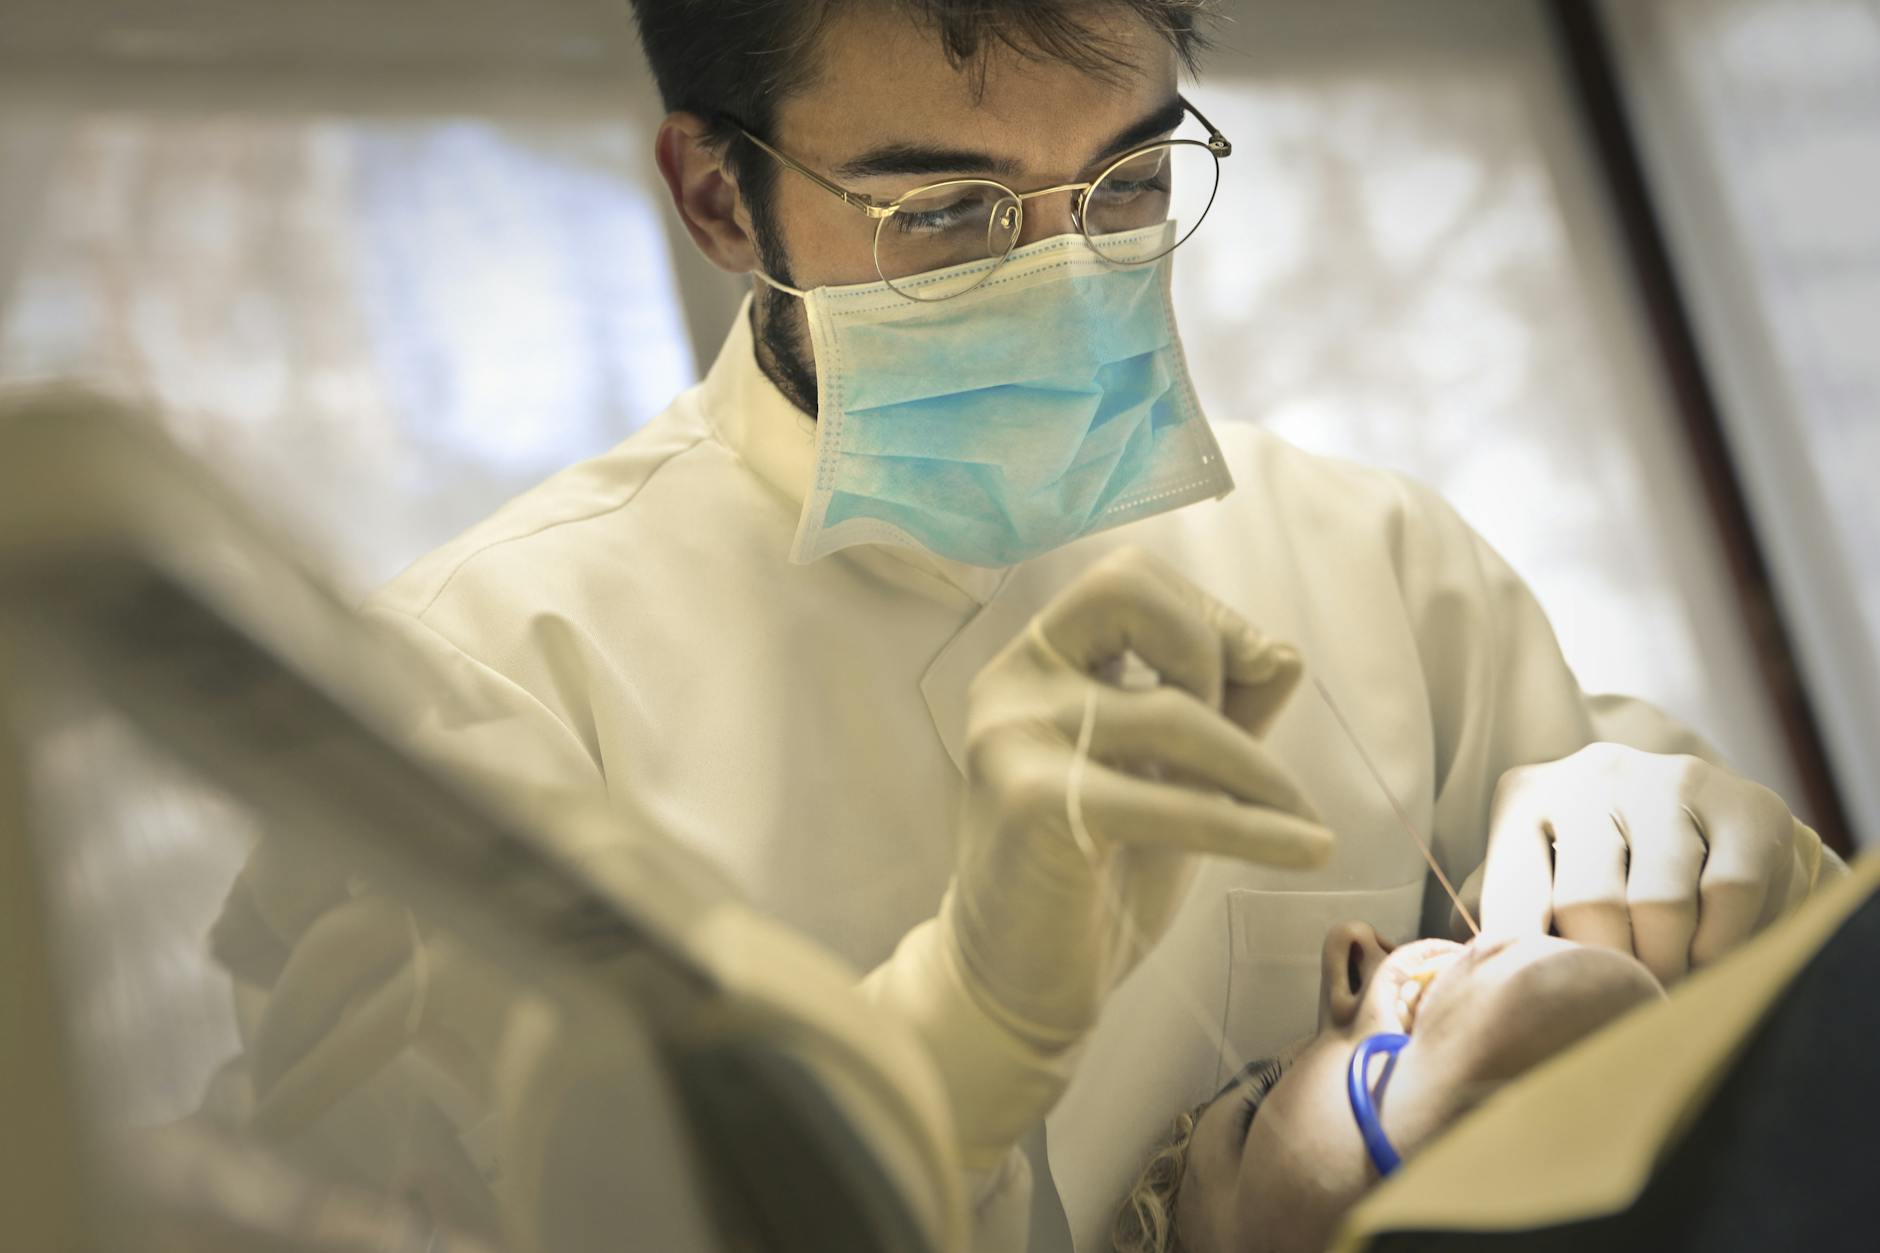
Application Methods for Desensitizers
Desensitizers are applied to reduce fluid movement in dentin and calm the nerve before adhesive steps. The exact method depends on the ingredient and the bonding approach. Done correctly, these applications ease sensitivity and keep the surface ready for a strong seal. In short, they prepare a quieter tooth for predictable bonding.
We start by isolating the tooth, gently cleaning the surface, and confirming moisture control. The area is tested with a light air puff to gauge baseline sensitivity. A quick real-world scene: cool air triggers a brief zing during try-in. After selecting a compatible product, we follow timed steps, then recheck comfort before placing primer or adhesive.
Glutaraldehyde with hydrophilic monomers is placed on exposed dentin with a microbrush, kept wet for 30 to 60 seconds, then air-thinned; it is not rinsed. This coagulates proteins within tubules and reduces permeability while leaving collagen receptive to primer. With total-etch systems, it is used after etching and rinsing, on gently moist dentin. With self-etch or universal systems, it can be used on prepared dentin before the adhesive scrub, followed by careful air-drying and light-curing of the adhesive as directed.
Oxalate solutions are brushed onto dentin for about 30 seconds to form calcium oxalate crystals that occlude tubules. Because strong acid can dissolve these plugs, we often pair oxalates with self-etch or with selective-etch that avoids dentin. Arginine with calcium carbonate and calcium phosphate or nano-hydroxyapatite pastes are usually applied with a soft prophy cup or microbrush for one minute, then lightly rinsed and air-dried, leaving mineral deposits in tubules. Fluoride varnish is painted in a very thin layer when used near bonding, kept off enamel margins that will receive resin, and any residual film is removed from bonding sites to avoid blocking infiltration.
At home, potassium nitrate toothpaste used twice daily for several days can lower nerve excitability and reduce triggers before the visit. For teeth that remain reactive, a thin resin seal, also called immediate dentin sealing, may be placed on dentin and cured, then final cosmetic bonding is done on a stable, comfortable surface at a later appointment. These tailored methods make desensitizing before bonding effective and efficient for patient comfort and long-term results. The takeaway: apply the right agent with the right timing, then bond with confidence.
Timing of Desensitization Before Procedure
Desensitization is planned so your tooth is calm the day we bond. Most cases start with gentle at‑home steps for several days, then an in‑office desensitizer is placed immediately before adhesive work. If sensitivity is strong, we may stage care, sealing dentin first and completing cosmetic bonding once the tooth is quiet.
A quick real‑world scene: a light air puff makes you flinch during try‑in. Day‑of timing is precise. After isolation and cleaning, we apply a compatible in‑office desensitizer and allow it to work for the recommended dwell time. With self‑etch or universal adhesives, it usually goes on prepared dentin before the adhesive scrub; with total‑etch, it follows etching and rinsing on gently moist dentin. We then test with a brief air puff to confirm comfort before moving to primer and resin.
Home timing supports what we do in the chair. Using a soft brush and a low‑abrasion toothpaste with potassium nitrate twice daily for several days can lower triggers before the visit. Avoiding acidic drinks and very cold foods helps the tooth settle. The morning of your appointment, skip abrasive pastes or whitening strips, since residues and oxygen can make dentin more reactive. In the operatory, we remove any leftover paste, then proceed so nothing blocks primer infiltration.
When sensitivity is moderate to severe, we may spread steps over two visits. First, we place a thin resin seal on exposed dentin and let the tooth rest, then return to shape and finish cosmetics on a stable surface. If sensitivity followed recent whitening, we adjust scheduling so the tooth is comfortable and responsive to adhesive steps. This thoughtful pacing makes desensitizing before bonding effective without slowing your overall treatment plan.
Planned timing calms the tooth and sets up a reliable bond. The takeaway: quiet first, then bond with confidence.
Patient Experiences with Desensitizing
Most patients describe desensitizing as quick and comfortable. You may notice a mild taste, a brief tingle, or cool air during testing, but the goal is fast relief. Many feel less “zing” from air or water within minutes, and the bonding visit feels easier. In short, desensitizing before bonding lowers triggers so the appointment is calmer.
A quick scene: a gentle air puff makes you brace, then relax as the tooth quiets. Before the visit, some patients use a soft brush and a low‑abrasion toothpaste to help calm sensitive spots. This often takes a few days to feel smoother. In the office, we clean away any toothpaste residue so the desensitizer and adhesive can work as intended. Clear steps help you feel what is happening and why.
During application, you might feel coolness or a brief tingling as the liquid or paste is brushed on. We allow it to sit for the recommended time, then air‑dry or lightly rinse as directed. Next, we test with gentle air or water. If the tooth still reacts, we can adjust by changing the agent, adding a second layer, or placing a thin resin seal to protect exposed dentin before the final cosmetic work. Numbing is rarely needed, but it is available if a spot remains very reactive. For those who get anxious in the chair, we can also discuss oral sedation for anxious visits so comfort stays front and center.
After desensitizing, most patients report normal eating and drinking with fewer sharp twinges. You might notice slight dullness or sensitivity that fades over several hours. We suggest gentle brushing, lukewarm water, and avoiding very acidic drinks that day. When we move to bonding, the tooth is calmer, so there is less need for breaks and a lower chance of post‑procedure zings. These experiences are common and reflect a simple idea: calm the tooth, then complete precise cosmetic steps with confidence.
The takeaway: calmer teeth make cosmetic bonding smoother and more comfortable.
Aftercare Following Cosmetic Bonding
After cosmetic bonding, you can usually eat and brush the same day, but treat the area gently at first. Expect the tooth to feel smooth and slightly different in shape or length. Mild temperature twinges can happen for a day or two, then settle. If anything feels sharp or high when you bite, a quick adjustment solves it.
A short scene: you bite into toast and feel a tiny catch on the new edge. For the first 24 to 48 hours, favor softer foods and cut firm items rather than biting directly with newly bonded edges. Use lukewarm water and a soft brush. Desensitizing before bonding reduces most “zing” sensations, but brief cold sensitivity can still occur as the tooth adapts. This should fade; if it builds or lingers, let us know.
Keep the area clean to protect the seal. Brush twice daily with a low-abrasion toothpaste and floss carefully by sliding the floss out rather than snapping it up. If the gum feels tender, an alcohol-free rinse can be soothing. Avoid very abrasive whitening pastes for a week, since they can dull the polish. If you notice a rough spot that catches floss, it may be extra resin that needs a quick polish.
Protect the new edge from excess force. Skip nail biting, pen chewing, and unwrapping packages with your teeth. If you grind or clench, wear the night guard we prescribed so the bonded area is not overloaded. Very dark sauces, tea, coffee, and tobacco can stain the surface film on any tooth; avoiding these for the first day helps the polish stay bright. Most patients return to normal foods by day two, using common sense with hard or sticky items.
Check in if something feels off. Call if the bite feels high after a day, if a chip appears, or if pain from cold lasts more than a minute. Regular professional cleanings help maintain luster, and quick touch-up polishing can refresh shine if needed. With simple habits and timely adjustments, bonded edges stay comfortable and look natural. The takeaway: be gentle at first, keep it clean, and protect the edge.
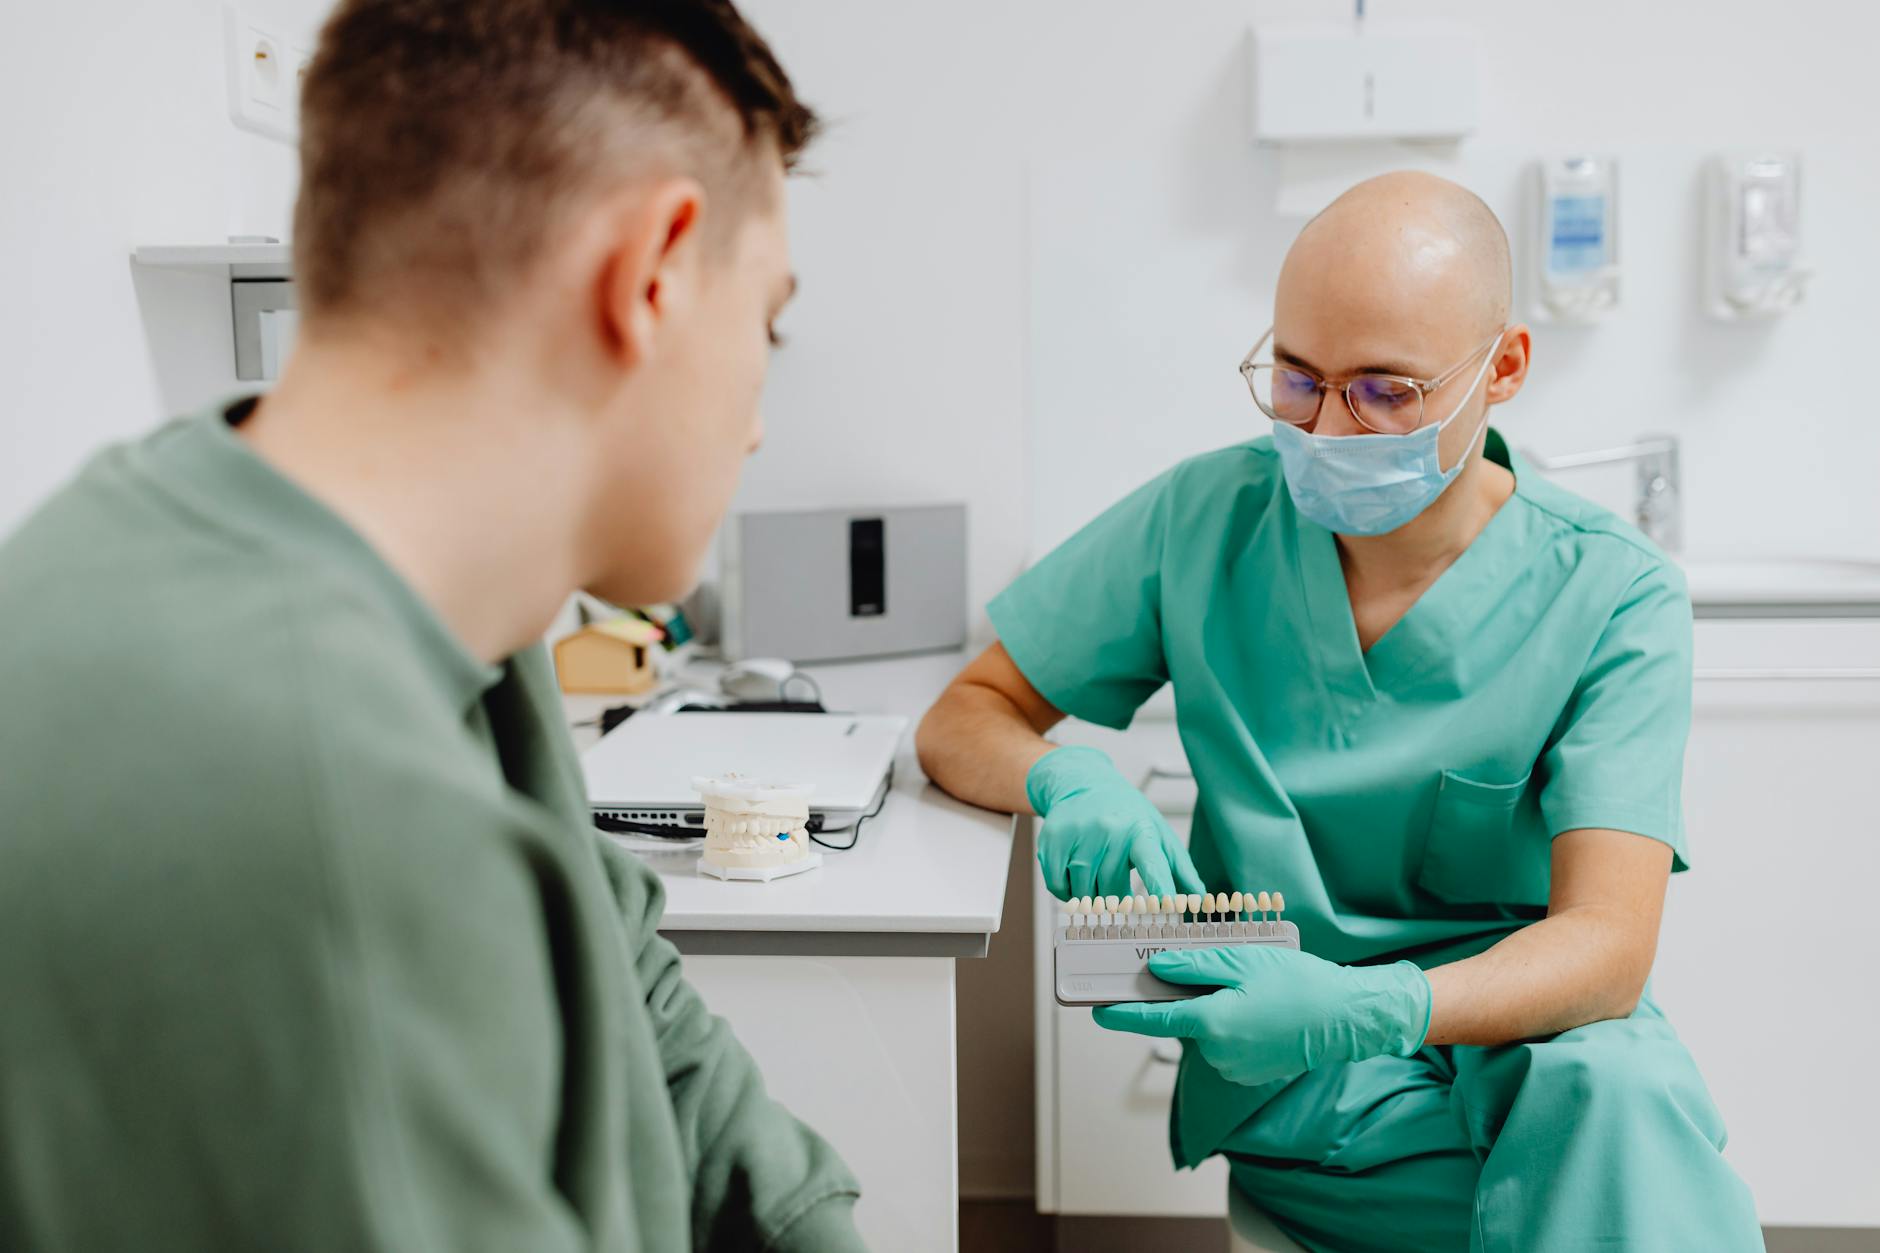
Benefits of Cosmetic Bonding
Cosmetic bonding repairs chips, closes small gaps, smooths edges, and blends spots of discoloration using tooth‑colored resin. It is conservative, often needs little to no drilling, and can be finished in a single visit. The result looks natural, feels smooth, and is easy to adjust or repair in the future.
Because bonding adds material instead of removing healthy structure, it helps preserve enamel. The resin is carefully layered and polished so light reflects like a natural tooth. Margins are sealed with modern adhesives, which supports comfort and helps resist stain lines. When planned with desensitizing before bonding, the tooth is calmer, so isolation is easier and the bond forms on a stable, quiet surface.
Picture a small corner chip on a front tooth before a big event. Bonding allows immediate, same‑day reshaping with color matched to your smile. The material can be contoured precisely to refine symmetry, length, and texture. If your bite or preferences change later, the bonded area can be smoothed, added to, or selectively replaced, which makes maintenance straightforward. Regular cleanings and gentle home care keep the luster bright.
Comfort is another benefit. Sensitive teeth can react to air and water during care, which makes keeping the field dry harder. Calming the tooth first reduces those triggers and supports a reliable adhesive seal, so there is less chance of post‑procedure “zings.” This planning also protects the nerve during etching and curing, contributing to a smooth appointment and predictable results.
Bonding also pairs well with other treatments. For example, minor reshaping after clear aligner therapy can perfect edges and close tiny spaces; learn about our approach to tooth movement with Invisalign and clear aligners. In some cases, bonding is used as a reversible “test drive” for shape changes before considering longer‑term options. Thoughtful sequencing keeps choices open while improving function and appearance today.
In short, cosmetic bonding is conservative, adaptable, comfortable, and natural‑looking. The takeaway: preserve enamel, refine shape, and smile sooner.
Potential Risks of Desensitizing
Desensitizing is generally safe, but there are potential downsides if products or steps do not match the adhesive plan. The main risks are a weaker bond from surface residue, short‑term gum or tissue irritation, and masking pain that signals a deeper problem. Good selection, timing, and isolation keep these risks low.
A quick scene: a cool air puff stops hurting after a liquid is brushed on. That relief is helpful, but some agents can leave a film that blocks primer or resin from soaking into dentin. If a paste or varnish is applied too thickly, or not cleaned away from enamel edges, bond strength can drop. Oxalate plugs can also be dissolved by strong acid, so using them with a total‑etch on dentin may undo their effect. To avoid these conflicts, we match the desensitizer to the adhesive type, then rinse or air‑thin exactly as directed.
The tooth and gums matter too. Glutaraldehyde‑containing liquids can sting soft tissues if they touch the gum, and any pooled liquid can irritate the nerve. Careful isolation, controlled application, and gentle air‑drying lower that risk. Fluoride varnish helps exposed dentin, but a heavy coat near a planned margin can interfere with wetting; we keep it very thin and off bonding sites. After recent whitening, residual oxygen can reduce resin curing, so we adjust timing to prevent weaker bonds and extra sensitivity.
Another risk is covering up a warning sign. If cold pain lingers for minutes, desensitizing before bonding might quiet symptoms without fixing pulp inflammation. We test with air and cold first, look for cracks or decay, and treat the cause before cosmetic steps. Patients with fragrance or chemical sensitivities should also mention this, since some liquids have noticeable odor or taste. Rare allergies can occur, so we select alternatives when needed.
Used thoughtfully, desensitizing before bonding improves comfort without sacrificing strength. We choose compatible products, protect tissues, and verify that the tooth is truly healthy before we seal it. The takeaway: match the agent to the adhesive, and problems stay rare.
Frequently Asked Questions
Here are quick answers to common questions people have about Desensitizing Before Cosmetic Bonding in Glendale, AZ.
- What are common reasons teeth become sensitive before cosmetic procedures?
Before cosmetic procedures, teeth can become sensitive due to several factors. These include gum recession, which exposes the tooth roots, and enamel wear from grinding or acidic foods. Over-brushing with too much pressure or using an abrasive toothpaste can also thin the protective layer of enamel. Additionally, cracked or chipped teeth and leaky fillings can transmit forces to the nerve, increasing sensitivity. Recent whitening treatments may temporarily heighten sensitivity as well. Addressing these issues helps ensure a more comfortable and successful bonding process.
- Why is desensitizing important before bonding procedures?
Desensitizing is crucial before bonding to improve both comfort and the quality of the adhesive seal. By calming sensitive dentin and reducing fluid flow within the tooth, desensitizing agents help prevent sharp pain from triggers like cold air or pressure. This allows for a steadier tooth surface, supporting a strong adhesive bond. Using desensitizers that match the adhesive type also helps limit tooth sensitivity post-procedure, ensuring a smoother, more comfortable result.
- How do desensitizers affect the strength of dental bonds?
Desensitizers can influence the strength of dental bonds by altering the tooth surface. They reduce fluid flow and improve conditions for primer soaking without always compromising bond strength. However, if a desensitizing agent leaves a residue, it can block adhesives from fully adhering. Matching the right desensitizer to the adhesive system is crucial to maintain bond strength and comfort [ref:37909528].
- Are there potential risks involved with desensitizing before bonding?
While desensitizing is generally safe, there are risks if products or steps do not align with the adhesive plan. These include weaker bonds from surface residue and short-term gum irritation. Using a thick coat of desensitizer or choosing incompatible products can also mask symptoms of underlying problems like pulp inflammation. Careful selection and application minimize these risks [ref:36575979].
- What techniques are used to apply desensitizers effectively?
Desensitizers are applied using various techniques depending on their ingredients and the bonding approach. Glutaraldehyde-based liquids are placed on exposed dentin to coagulate proteins and reduce permeability. Oxalate solutions form calcium oxalate crystals to occlude tubules. Arginine with calcium carbonate, or nano-hydroxyapatite pastes, are usually applied with a soft brush, followed by light rinsing and air drying to leave mineral deposits. Each application method supports nerve calming and prepares the surface for strong bonding [ref:36416319].
References
- [1] The use of calcium-silicate cements to reduce dentine permeability. (2012) — PubMed:22459650 / DOI: 10.1016/j.archoralbio.2012.02.024
- [2] Effect of an 8.0% arginine and calcium carbonate in-office desensitizing paste on the microtensile bond strength of self-etching dental adhesives to human dentin. (2012) — PubMed:23243976
- [3] [Effect of a nano hydroxyapatite desensitizing paste application on dentin bond strength of three self-etch adhesive systems]. (2017) — PubMed:28482442 / DOI: 10.3760/cma.j.issn.1002-0098.2017.05.004
- [4] The Effect of Dentine Desensitizing Agents on the Retention of Cemented Fixed Dental Prostheses: A Systematic Review. (2023) — PubMed:36984516 / DOI: 10.3390/medicina59030515
- [5] Effect of Different Desensitizers on Shear Bond Strength of Self-Adhesive Resin Cements to Dentin. (2022) — PubMed:36004897 / DOI: 10.3390/bioengineering9080372
- [6] Fluoride bioactive glass paste improves bond durability and remineralizes tooth structure prior to adhesive restoration. (2021) — PubMed:33239220 / DOI: 10.1016/j.dental.2020.10.008